While do-it-yourself projects can be fun and fulfilling, there is always a potential for personal injury or property damage. We strongly suggest that any project beyond your abilities be left to licensed professionals such as electricians, plumbers, and carpenters. Any action you take upon the information on this website is strictly at your own risk, and we assume no responsibility or liability for the contents of this article.
How to Plan for and Build a Playground
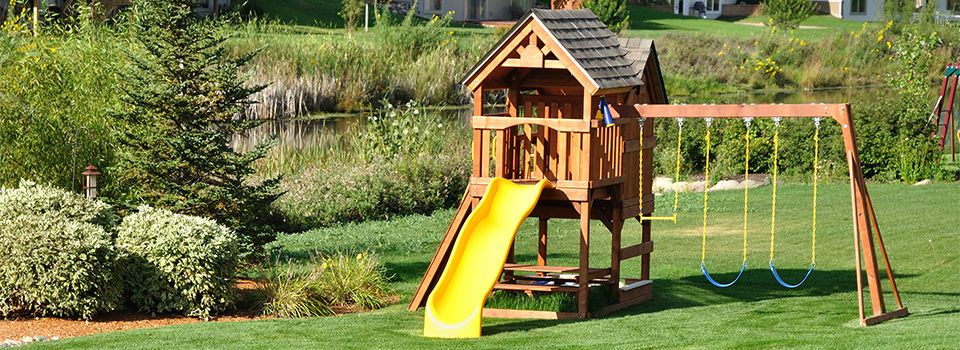
Building a playset or playground in your own backyard might sound like a major undertaking, but it can actually be a lot simpler than you might assume. Today’s playground kits for homeowners make the process relatively quick and easy if you have some basic DIY skills. The biggest challenge is properly planning out and preparing the site before trying to assemble the kit. You’ll also need to keep in mind that playground kits still require the separate purchase of lumber. As long as you can handle buying the lumber and clearing away grass and rocks, you’re well on your way to a home playground that will wow the family.
Measure and Lay Out the Space
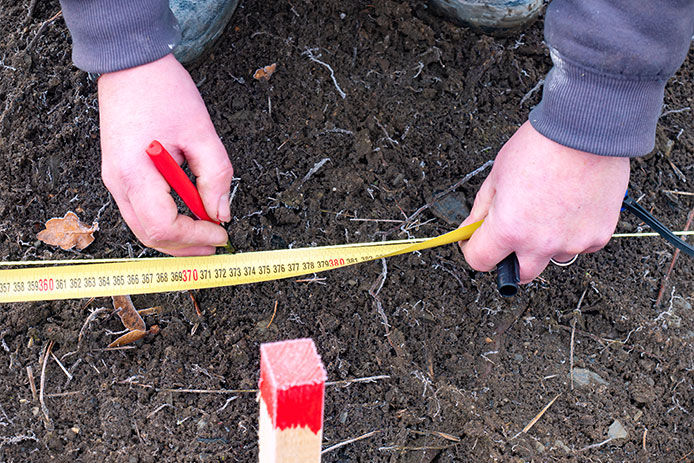
Many homeowners can be too ambitious with their playground kits only to find the assembled set doesn’t quite fit the space. Don’t just read the basic dimensions of a kit and go out to measure your yard. Think about other potential conflicts like tall towers hitting low-hanging power lines or tree branches. Swing sets need extra clearance to ensure that your kids’ feet don’t leave marks on the house siding as they play. Make sure there’s room to run, jump, and play all the way around the set before picking any particular design. Keep playground sets away from windows and exterior wiring to avoid risky accidents.
Choose a Kit
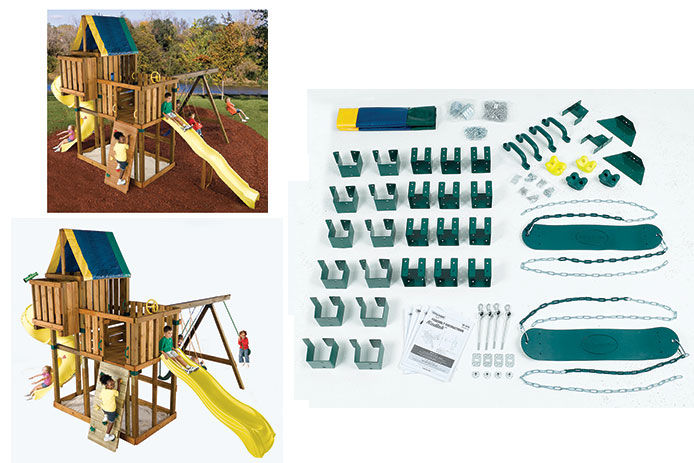
Once you know the space of your backyard or front yard, you can pick out a kit. Options for playground kits range from basic swing sets to complete collections with multiple play structures bundled together. These kits aren’t sold with lumber, but they do include special connectors that create the angles and strong connections you need for specific playground pieces. Molded plastic parts like roof caps or swing seats are also included. Leaving out the lumber reduces the shipping cost significantly and leaves you free to make wood choices based on availability and budget. Playground sets will last the longest when built from either redwood or cedar, but pine is more widely available and very affordable.
Create Space for Storing Lumber and Other Materials
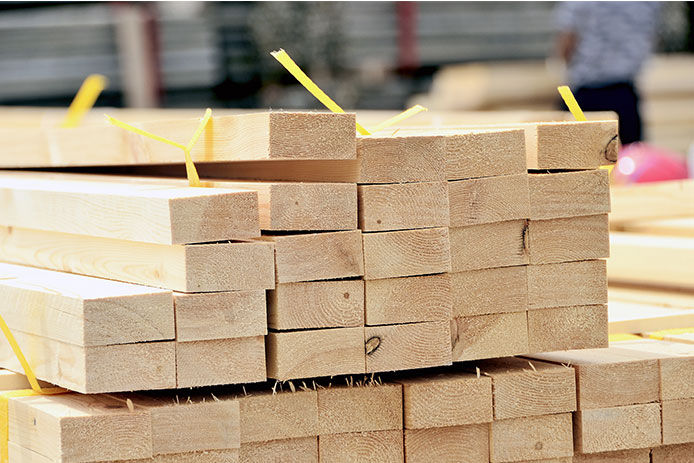
Don’t forget to set aside space for keeping the lumber and other materials covered while you work on assembling them. Most people using these kits can complete them in one day or over a single weekend, but it’s easiest to pick up the lumber a few days ahead of time. Keeping it covered and dry will prevent warping, twisting, and other issues that make it hard to assemble the playground kit.
Prepare the Ground
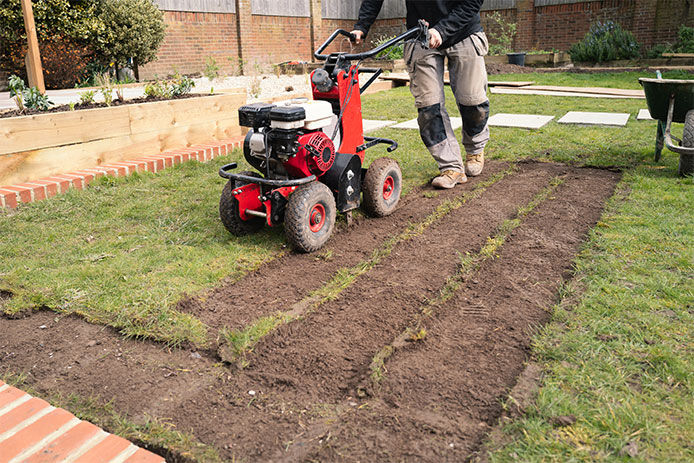
Just like with any building project, failing to prepare the ground before assembling a playground set will only make it less successful and more frustrating. Get out a shovel or rent a grading tool to scrape away at the surface of the ground until all turf is removed and the soil is level and well compacted. All the foot traffic around the playset will wear away the grass quickly anyway, so leveling the entire area makes it much easier to keep wood chips in place later. It also gives you a chance to address any drainage issues that might leave the areas under slides or swings soggy and muddy.
Assemble the Kit
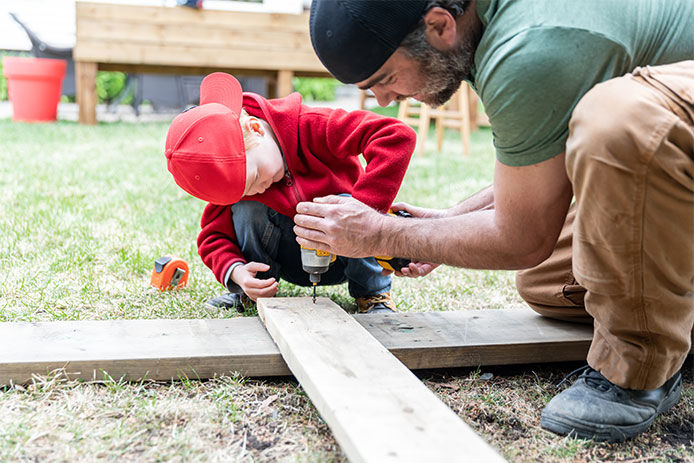
Once the lumber is all collected and the ground is bare, it’s time to follow the instructions and assemble the kit. Each kit differs, but most will require at least a power drill and some hex or star drive bits, along with adjustable wrenches for tightening the larger bolts and connecting rods. Specialty tools are rarely required for homeowner kits, but check the manufacturer’s documentation before beginning. You don’t want to run out to buy or rent a special bit or adapter while in the middle of assembly.
Check and Test the Equipment
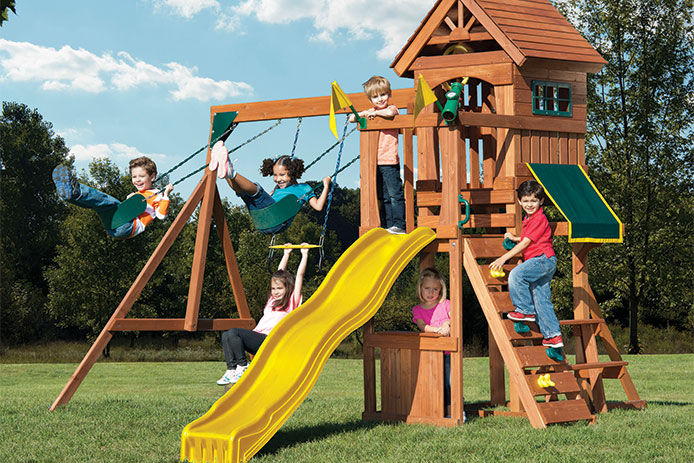
When you’ve used all the parts and followed the instructions to the end, it’s time to see if the construction went as planned. Since playground sets are intended for kid use, don’t immediately jump up and down on the equipment to see if it’s sturdy enough. Check first that surfaces and posts are level and plumb to prevent slips and falls. Pull and shake the various assemblies to make sure they’re sturdy and don’t rock or loosen.
Treat the Wood and Apply Finishing Touches
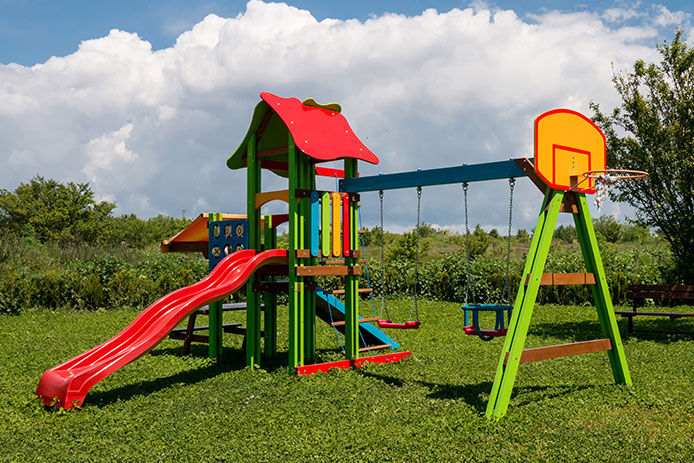
Even rot-resistant wood like cedar looks and lasts better with a coating of protective stain or paint. Pine definitely needs sealant if you want the playset to stay safe to use for more than a couple of years. Take some time to round the edges of the lumber and shave down any splintered areas to take the project to the next level. The kids who play on the playset for years to come will appreciate the effort you put into finishing the kit.
While the actual assembly should go fairly quickly, there are at least a few days of hard work to put into preparations. Picking up a playground kit doesn’t eliminate all the work, but it does make the process go a lot easier.