How to Apply Weed Killer

Unless you have magical landscaping that doesn’t grow weeds, every homeowner will need to either pull weeds or apply weed killer at least once a year. Many consumers prefer to pull weeds by hand or by using weed-removing tools, mainly because they feel uncomfortable using weed killer. However, applying weed killer isn’t difficult if you follow our simple planning, application, and safety tips that will rid your house of weeds and keep you safe in the process.
Weed Killer Planning

Planning is probably the most difficult aspect of applying weed killer. For best results, catch weeds early in their growth stages. It is harder to kill mature weeds because they have a mature root system, so it may take more than 1 application. When planning to apply weed killer, look at the weather forecast. You will need the following type of weather conditions:
- No rain 24 hours before or after application
- Temperatures between 45 and 90 degrees Fahrenheit
- Wind speeds less than 10 mph, but preferably between 3 - 7 mph
Weed Killer Application

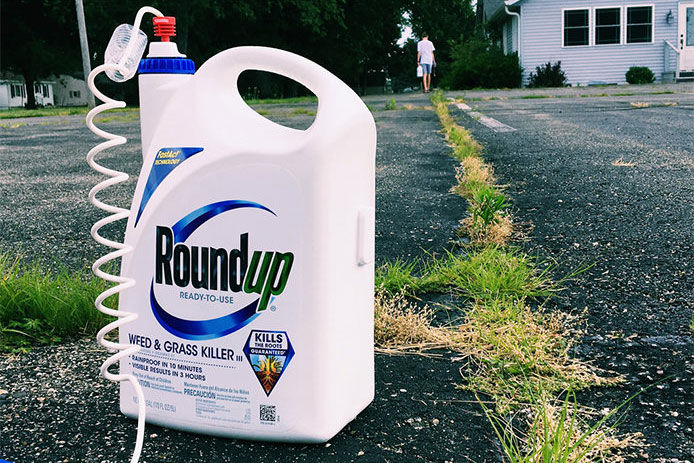
Weed killers come in a variety of different formats including premixed refills, concentrates, & ready-to-use sprayers. Each of these formats requires slightly different preparation before use. For example, the premixed refills are ready to be put into a sprayer and used. The concentrate will need to be mixed with water to the specified rato on the back of the bottle, while the ready-to-spray weed killers typically have either electronic or manual built-in sprayers. These types are handy for individuals that do not own a tank sprayer. However, if you will be doing a large amount of spraying, we recommend either a tank sprayer or a backpack sprayer as these hold more fluid and have better spraying ability.
Before applying weed killer, be sure to follow any safety guidelines on the back of the bottle and reference our safety section. Remove any items from the weeded area like toys and patio furniture. Also, ensure no animals, children, or other adults will be using the area until the chemicals dry. The dry time varies by climate. As soon as the application is dry, it is safe for humans and animals to walk on.

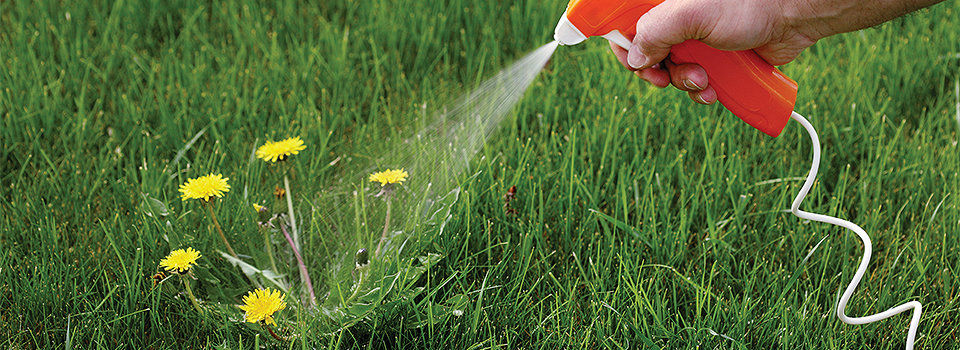
When applying the weed killer, do not spray on desirable plants or trees. If you accidentally spray a plant or tree, act quickly and wash off the herbicide with water before the leaves absorb it. We recommend placing the sprayer nozzle closer to the ground when spraying around desirable plants. This will avoid accidental overspray and allow for additional trajectory control. It may also be necessary to adjust the nozzle to more of a direct spray versus a large misting radius. In some circumstances, it’s best to not spray a weed that is growing near other plants and may be safer and easier to pull the weed.
After about 2-3 days the weeds’ stems should start twisting and dying. If larger, mature weeds look healthy after 3-5 days, they may need another dose of herbicide.
Weed Killer Safety Tips

As with nearly all chemicals, safety equipment should be worn prior to mixing or coming in contact with the weed killer. We recommend, at minimum, the following should be worn when applying herbicides: a long-sleeved shirt, long pants, rubber gloves, goggles, and closed-toe shoes with long socks (rubber boots are even better.) According to many weed killer labels, a respirator is not necessary. However, we recommend wearing one to avoid breathing in mist or weed killer vapor. Immediately after your weed killer application, wash your hands with soap and water.