While do-it-yourself projects can be fun and fulfilling, there is always a potential for personal injury or property damage. We strongly suggest that any project beyond your abilities be left to licensed professionals such as electricians, plumbers, and carpenters. Any action you take upon the information on this website is strictly at your own risk, and we assume no responsibility or liability for the contents of this article.
Log Splitting 101

You probably know the old quote:“The time will come when Winter will ask you what you were doing all Summer.” Just about every sports coach in America has repurposed that one way or another, but it applies directly to those of us who love a nice, roaring fire in the fireplace when the temperatures start to drop. If you haven’t split and stacked wood all summer and fall, you might not be able to enjoy the warmth of a fire in the winter! Not only is splitting wood necessary for keeping a fire going all winter, it’s a tremendous workout (there’s no more satisfying feeling of accomplishment than cracking an axe through a big slab of wood) and can even become an additional income opportunity if you bundle and sell it. For most of us, there’s still a little time left to get splitting, so check out a few tips on how to split wood the right way.
Preparation

Softwood vs. hardwood
Softwood splits easier but burns faster, while hardwood is more difficult to split and burns longer. If you have an equal amount of softwood and hardwood, the hardwood will last you much longer. Dry, seasoned wood also burns better and splits much easier; fresh, green logs will leave you frustrated!
Tools
Gloves and eye protection are a must, and long pants are also advised. You’ll also need a chainsaw to cut up whatever tree you’re splitting into manageable logs. This is also where you’ll choose either an axe or a maul. An axe is lighter and sharper while a maul is heavier and wider, making it better for bigger logs. Choose based on the type and size of the wood you’ll be splitting. Either way, you’ll be swinging a big, sharp tool, so you’ll feel pretty manly!

Occasionally, you may need a wedge to set in a crack on a particularly stubborn log. By driving the wedge in with a sledgehammer or the flat side of your axe/maul, you can usually split any log with a bit of extra effort.
Setup
You’ll want to find a flat spot for your chopping block (you can use an actual chopping block or just a flat spot on the ground) so your logs sit flat and balance easier. You also need to have a stacking/storage spot planned out.
Splitting

Now we’re getting to the fun part. There are a few basic procedures to follow for maximum safety and splitting power:
- Take a few slow practice swings to help you position yourself the right distance from the log. The axe/maul head should strike the center of the log with your arms extended, so take time to get set up at the right distance before you start taking a real swing.
- Take an athletic stance with your feet a little wider than shoulder width. Grip your splitting tool firmly, with one hand near the bottom of the handle and the other about 2/3 of the way towards the axe/maul head. Raise the axe/maul straight up over your head and bring it straight back down in a controlled manner using your arms and core. As you drive the head of the axe towards the log, slide your top hand down towards your bottom hand to get leverage on the end of the handle. Swing hard but smooth and let the weight of the tool do the work.
- Aim for the lines or cracks that are already there. This helps the log split naturally and more easily. Some will have knots in them, and it's best to avoid those until you’re really ready for a challenge! Knotty pieces are best taken on with a wedge and maul combo.
- Once the log is split the first time, pick up the pieces and split them down further as needed (it should get easier to split as you go). Even if you get some chips or uneven splits, it’s ok – those pieces actually make great kindling.
Stacking

Once you have a pile of split logs, it’s time to organize and stack them. If you’re stacking them in a shed or covered outbuilding, that’s great – it’ll keep the wood much drier. If they're out in the open, you’ll want to cover your pile with a tarp.
In general, you'll want your stack to be loose enough to let air flow through and dry out the wood but stable enough that it’s not on the brink of toppling over. Some people like to stack logs between two sturdy trees so that there’s a solid structure on each side of the stack preventing the wood from falling out. 2x4 boards also work for the end pieces.
If no suitable trees or boards are nearby, you can build the ends of the stack by laying two pieces side by side on the ground, then stacking up repeatedly with each level perpendicular to the one below.
With that know-how, all you need now are the right tools. Check out our wood splitting category that's full of axes, mauls, wedges, and all the replacement handles you may need.
Related Articles

Types of Sprinkler Heads for Lawn and Garden Irrigation
Looking for the right sprinkler head for your home’s underground irrigation system? Find the perfect one with our guide to sprinkler head types.
Learn more
How to Aerate Your Lawn
Learn how to easily get your yard in tip-top shape for the spring season
Learn more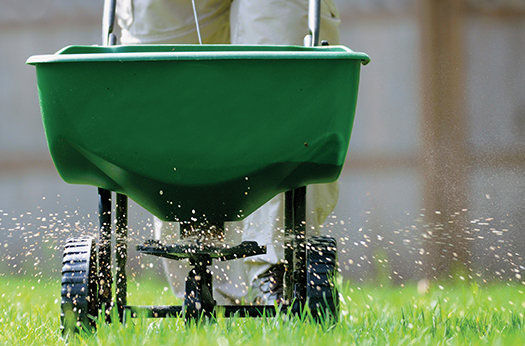
How to Choose the Best Lawn Spreader
Learn about the different types and when you should be using each one
Learn more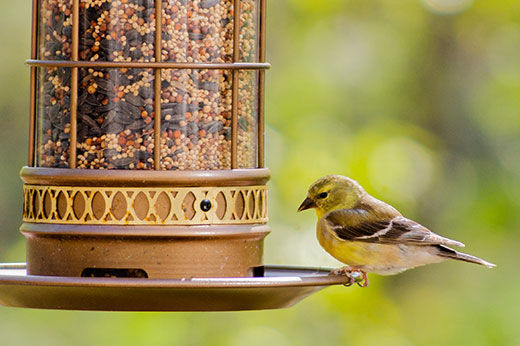
Beginner’s Guide to Backyard Bird Feeding
Tips and tricks for attracting beautiful feathered friends all year long
Learn more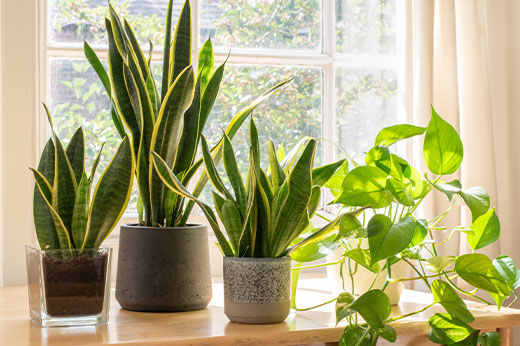
Hard-to-kill Houseplants for Those Without a Green Thumb
If you kill every plant you touch, check out these low-maintenance greeneries!
Learn more